The Ultimate Guide to Writing Documentation: From Zero to Hero with Docsify
How to Create Quality Documentation Using Docsify
How to Write Good Documentation with Docsify
Documentation – the unsung hero of successful products. Without proper documentation, using a product becomes a daunting task. Whether you’re a developer working on an open-source project or a business owner looking to provide clear instructions to your customers, documentation is key.
But fear not! Creating a documentation site doesn’t have to be an uphill battle, even if you lack front-end development skills. Today, I’ll introduce you to an amazing tool called Docsify, which will empower you to create awesome documentation without requiring extensive technical know-how.
What is Docsify?
To put it simply, Docsify is a lightweight and user-friendly documentation generator that magically removes the need for JavaScript or React expertise. With Docsify, you don’t have to worry about complex configuration, maintaining HTML files, or searching for plugins. It comes with zero configuration, multiple theme support, and even full-text search capabilities. It’s like having a documentation genie by your side, ready to grant your every wish. And the best part? Docsify can be deployed on a wide range of platforms, like GitHub pages, GitLab Pages, Firebase, Netlify, Vercel, and more.
But enough talking, let me show you how Docsify works. I’ve created a demo project that demonstrates the power of Docsify, which you can find on GitHub. And if you want to experience it live, check out the live demo site.
Getting Started with Docsify
Now that I’ve piqued your interest, let’s dive into how you can set up and use Docsify. But don’t worry, it’s a piece of cake! To get started, you’ll need to install docsify-cli. Just run the following command in your terminal:
npm install -g docsify-clior if you prefer using yarn:
yarn global add docsify-cliGreat! With docsify-cli installed, you can now create a new Docsify project by running:
docsify init docsThis command will generate the necessary files and directories for your Docsify project. But don’t worry too much about the initial setup. Docsify comes with a simple folder structure:
├── index.html           // The HTML entry file
├── .nojekyll            // Helps with GitHub Pages deployment
└── README.md            // The home page or "router"
You’re almost there! To launch your documentation site locally, run:
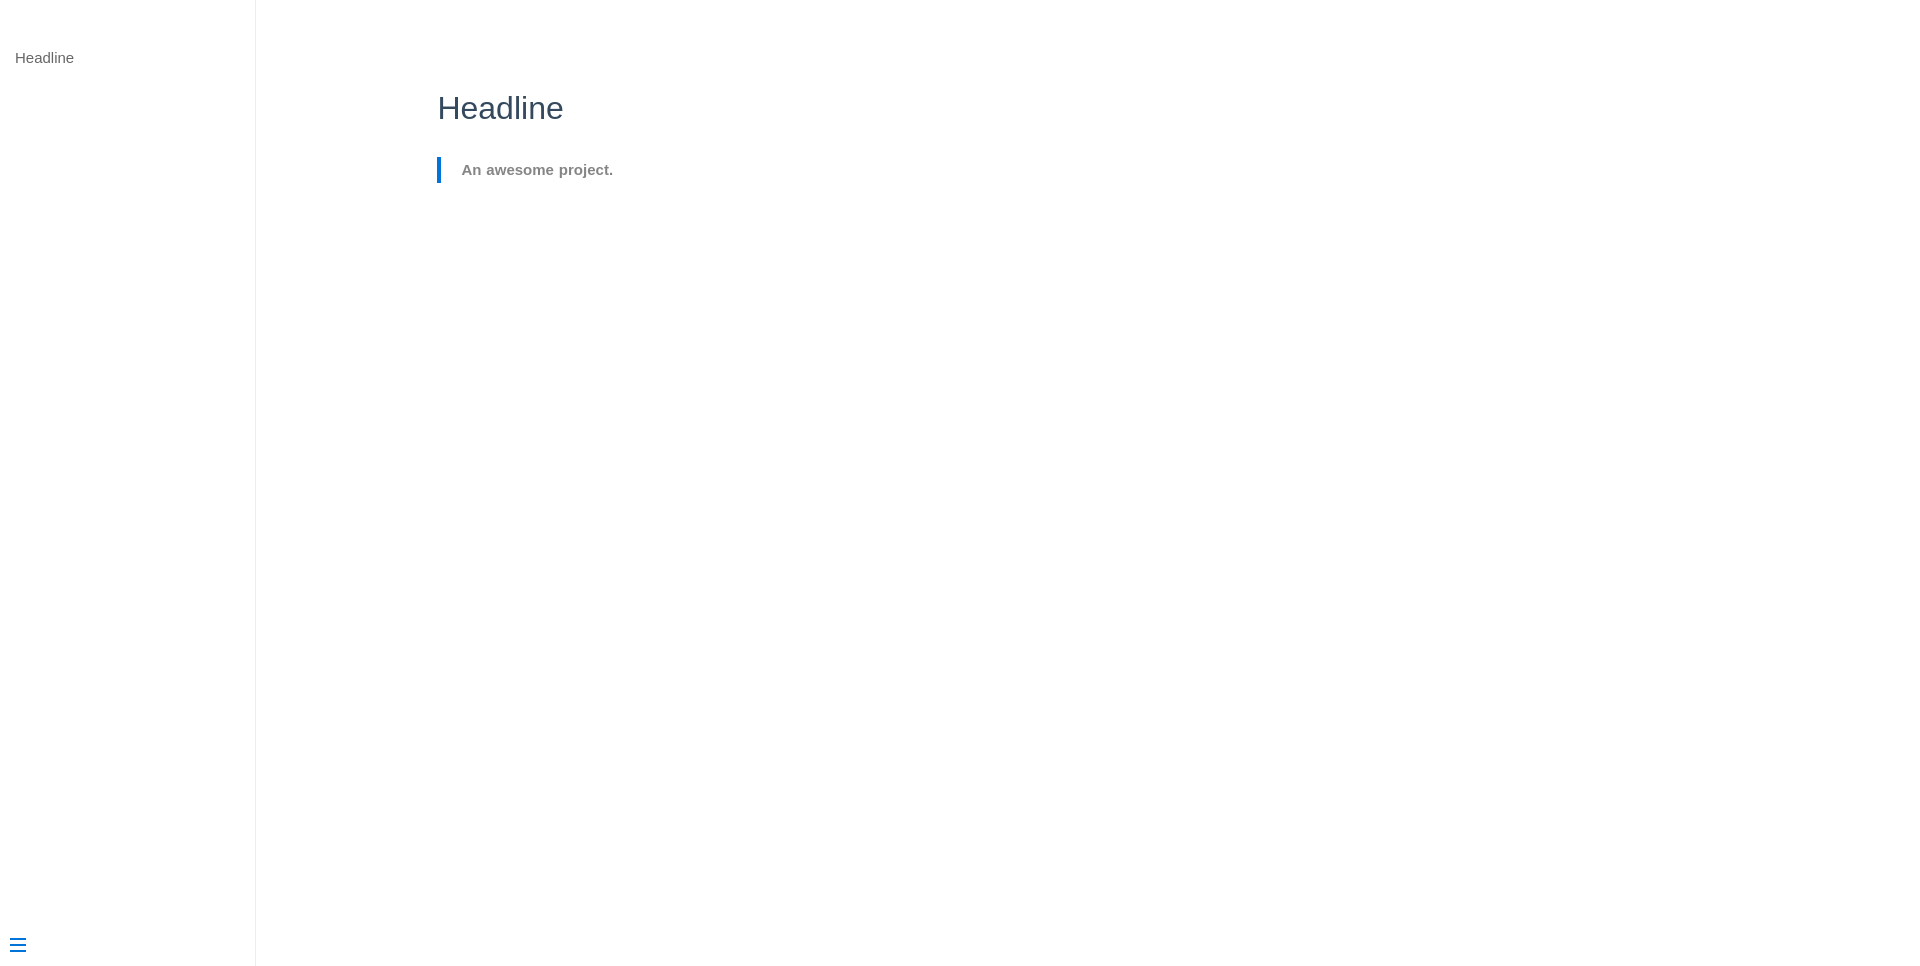
docsify serve docsNow your local server is up and running on port 3000. Open your browser and visit http://localhost:3000 to see your awesome documentation site in action:
Customizing Your Docsify Site
Docsify offers a plethora of customization options to make your documentation site truly shine. And the best part? You don’t need to be a coding wizard to make it happen! Let’s explore some common customization options:
Basic Configuration
With the basic configuration feature, you can add a logo, set a custom name, link to your GitHub repository and define a theme color. Here’s a code snippet to get you started:
<script>
    window.$docsify = {
        logo: '/_media/icon.svg',
        name: "Document",
        nameLink: '/',
        repo: "officialrajdeepsingh/docsifyjs",
        maxLevel: 2,
        themeColor: '#3F51B5',
    };
</script>
Loading Screen
Enabling a loading screen has always been a challenging task, especially for those of us who aren’t JavaScript maestros. But with Docsify, it’s a breeze! You can enable a loading screen by simply adding some HTML inside your app ID:
<div id="app">Please wait...</div>Sidebar
By default, Docsify generates a table of contents in the sidebar. But you can easily customize it to suit your needs. First, enable the sidebar by adding the following code to your index.html file:
<script>
    window.$docsify = {
        loadSidebar: true,
    };
</script>
Then, create a new _sidebar.md file and populate it with your desired links. For example:
- [Home](README.md)
- [Getting Started](getting-started.md)
- [FAQs](faqs.md)
Your sidebar will now look something like this:

Header
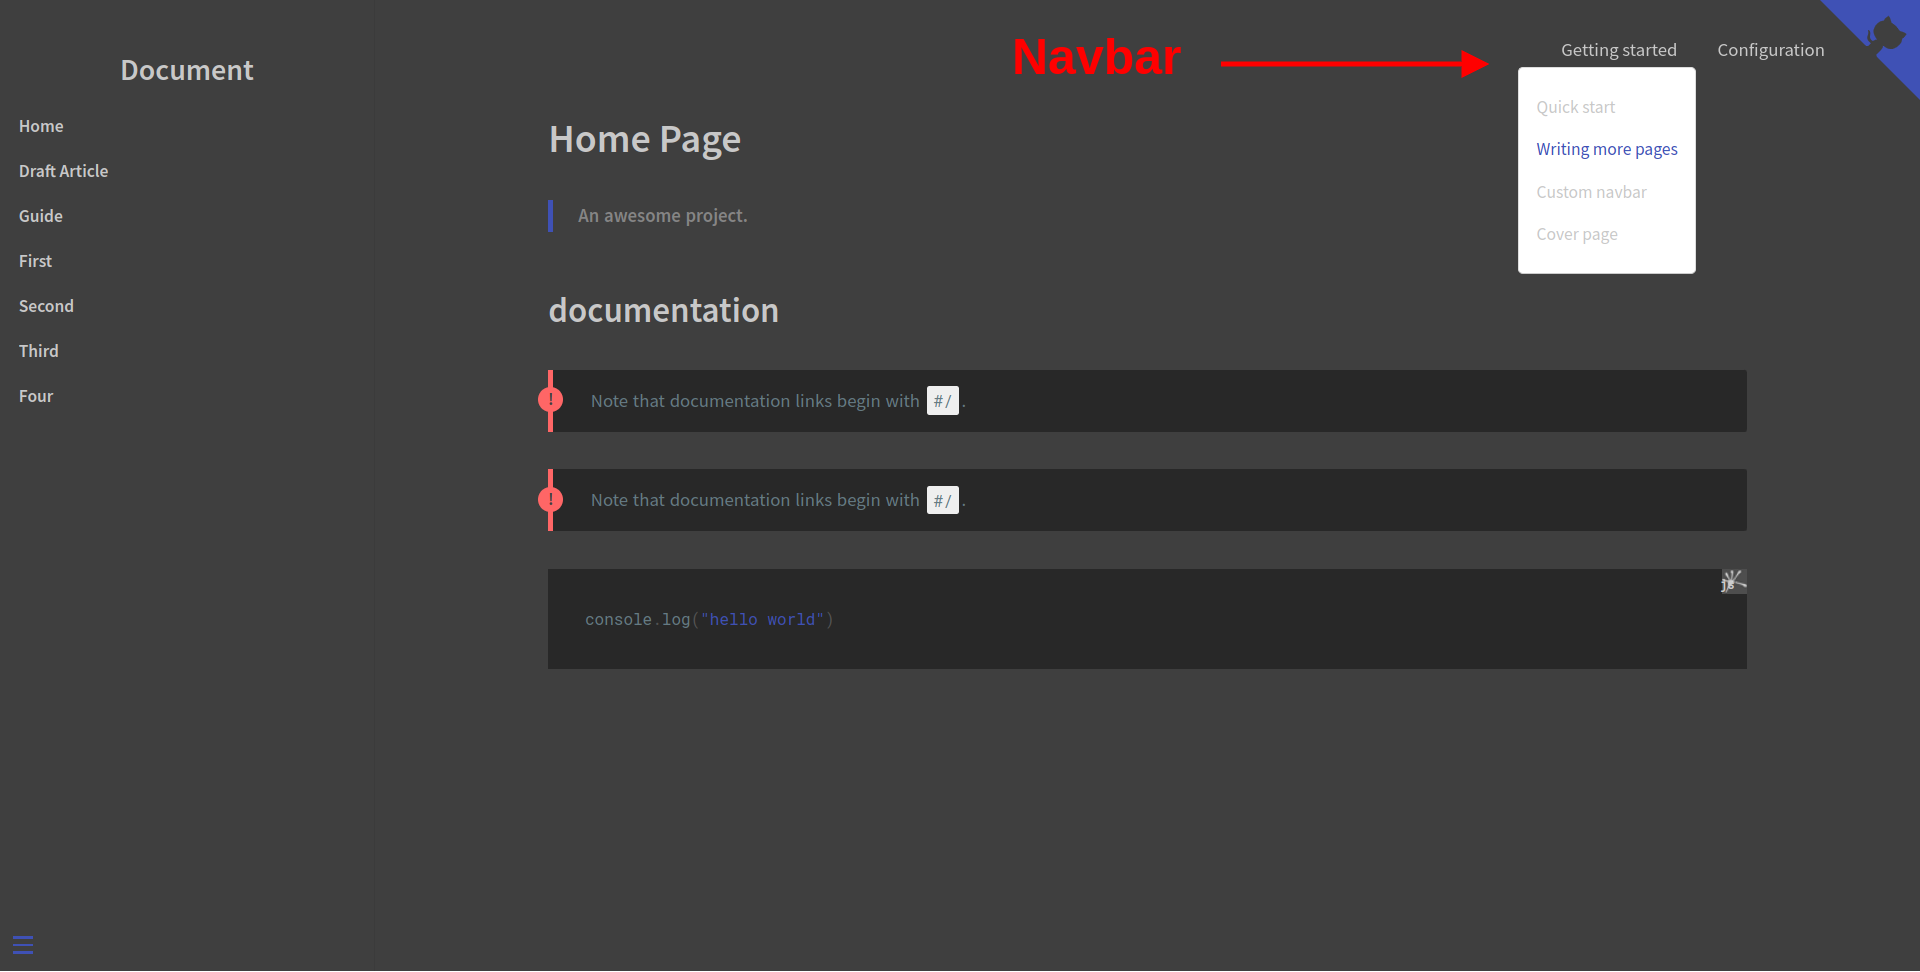
By default, Docsify doesn’t show a navbar. But fear not! You can easily enable it by adding a few lines of code to your index.html file:
<script>
    window.$docsify = {
        loadNavbar: true,
    };
</script>
Then, create a new _navbar.md file and add your desired links. Here’s an example:
- [Home](README.md)
- [Documentation](docs.md)
- [Examples](examples.md)
- [GitHub](https://github.com/officialrajdeepsingh/docsifyjs)
Your Navbar will magically appear, like a genie popping out of a lamp:
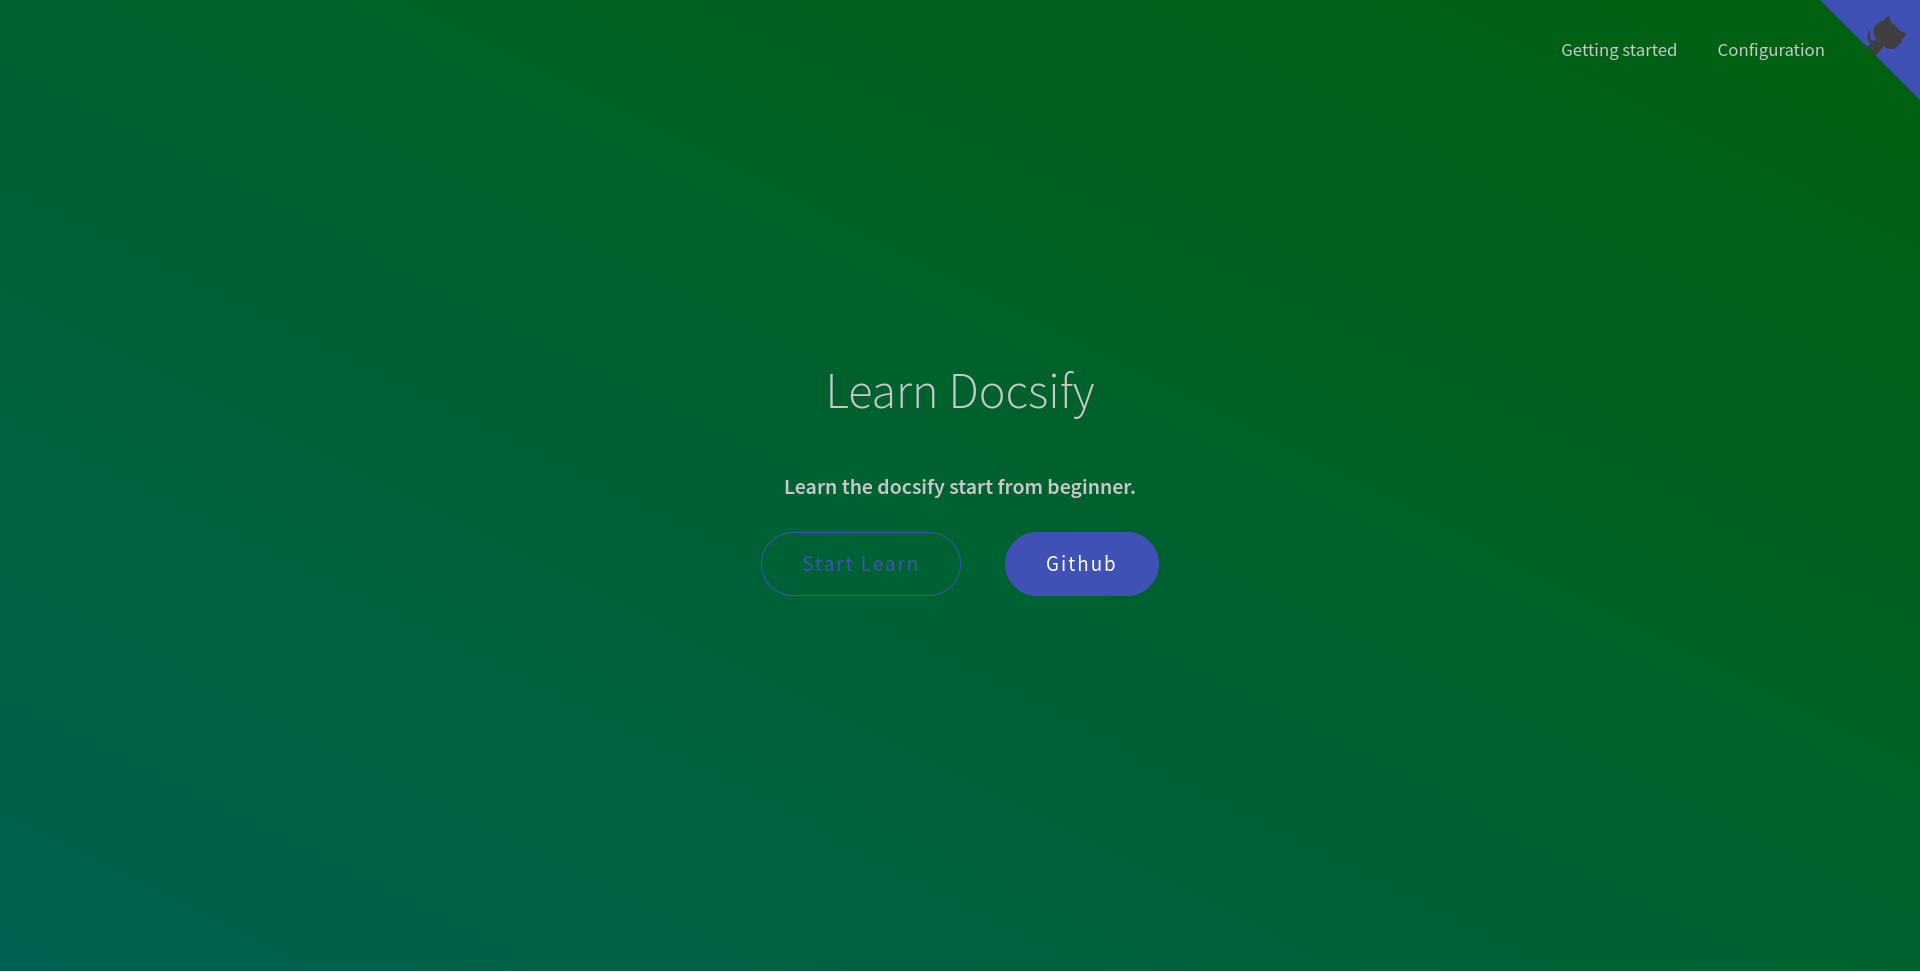
Cover Page
If you want to create a beautiful cover page for your documentation, Docsify has got you covered! Simply enable the cover page feature with a single line of code in your index.html file:
<script>
    window.$docsify = {
        coverpage: true,
    };
</script>
Next, create a _coverpage.md file and add your stunning cover page content. For example:
# Learn Docsify

### Learn the Docsify basics from beginner to pro.

[Start Learning]()
Voila! Your cover page is ready to impress:
Plugins
Plugins are like the secret sauce that elevates your Docsify documentation to the next level. They add extra functionality and enhance the user experience. Don’t worry, you don’t have to be a plugin magician to use them. Docsify has a wide range of open-source plugins available that are created by various contributors. You can easily incorporate these plugins by copy-pasting their code snippets.
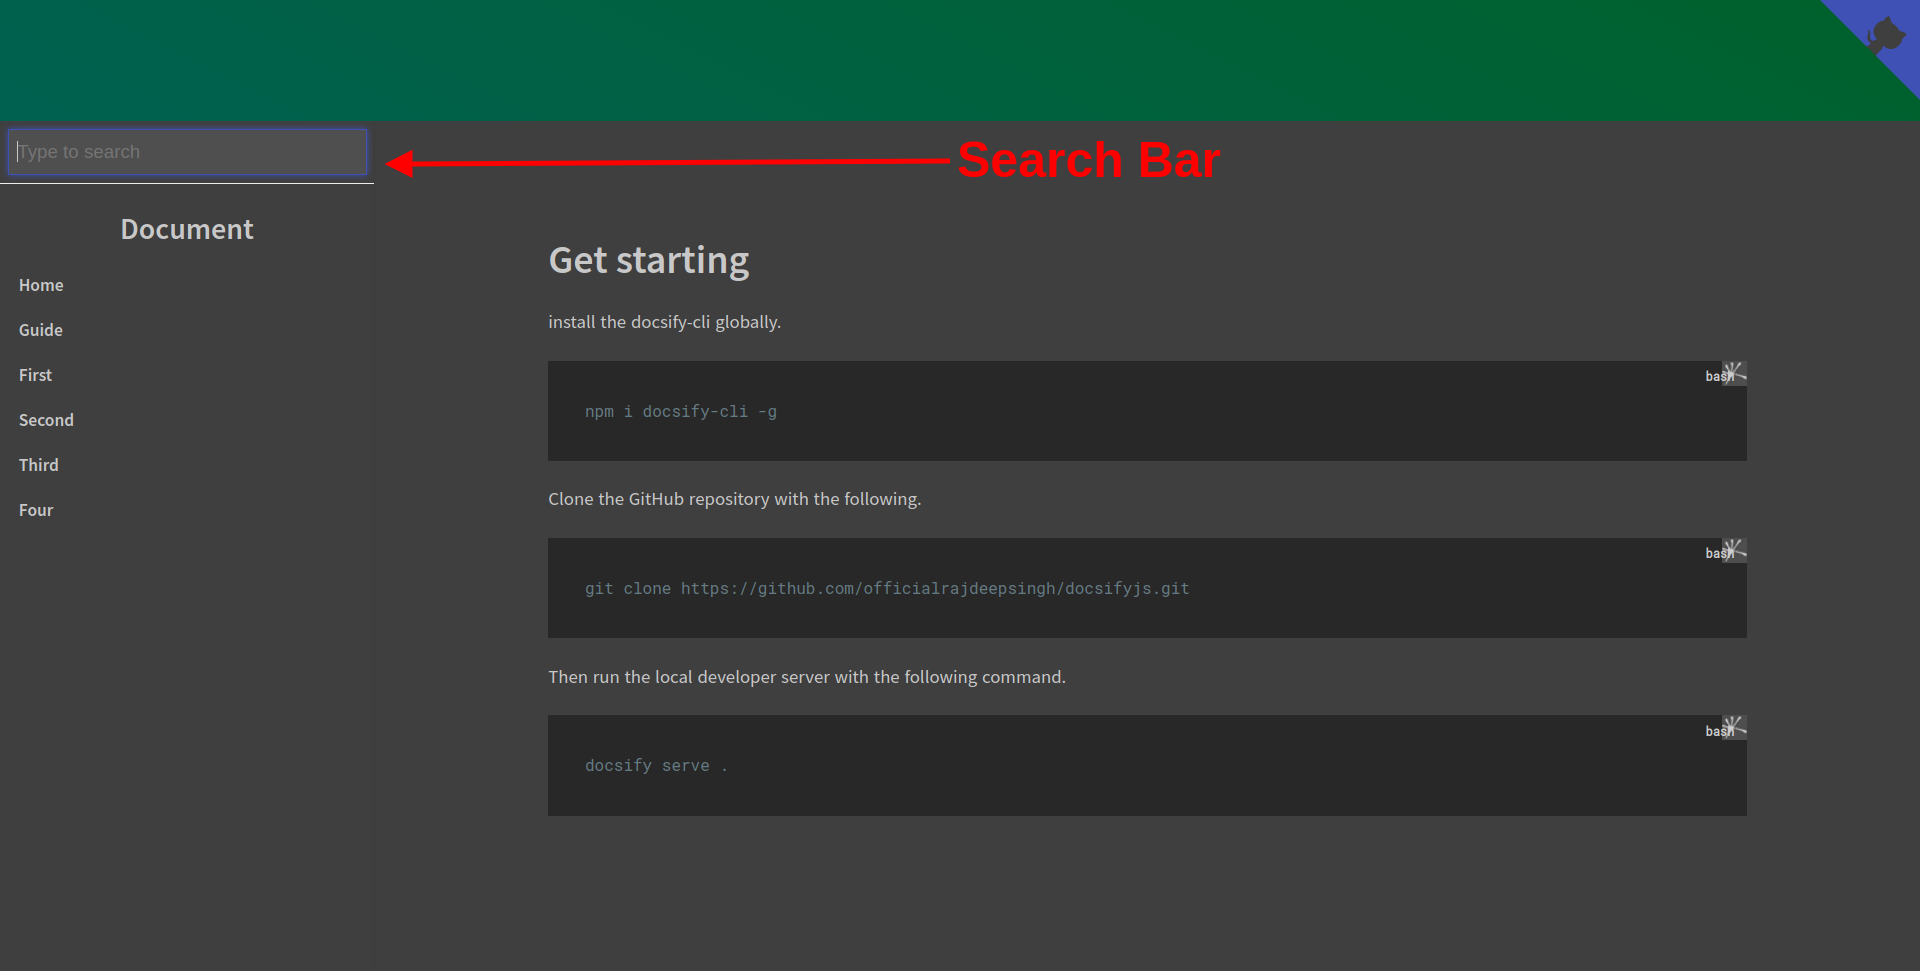
For example, to enable the search bar functionality, simply include the following script in your index.html file:
<script src="//cdn.jsdelivr.net/npm/docsify/lib/plugins/search.min.js"></script>And just like that, your documentation site will have a powerful search bar:
But that’s not all, my friend! If none of the existing plugins meet your needs, you can even create your own using the inbuilt hooks provided by Docsify. These hooks allow you to inject custom code at specific points in the rendering process. The possibilities are endless!
Themes
Looks matter, right? Well, Docsify has your back when it comes to themes. You can choose from a range of official and community-made themes. Switching themes is as easy as copying and pasting CSS files. Here are a few examples:
- Vue Theme:
<link rel="stylesheet" href="//cdn.jsdelivr.net/npm/docsify/themes/vue.css" /> - Bubble Theme:
<link rel="stylesheet" href="//cdn.jsdelivr.net/npm/docsify/themes/buble.css" /> - Dark Theme:
<link rel="stylesheet" href="//cdn.jsdelivr.net/npm/docsify/themes/dark.css" /> - Pure Theme:
<link rel="stylesheet" href="//cdn.jsdelivr.net/npm/docsify/themes/pure.css" />
Choose a theme that resonates with your project and paste the corresponding CSS file into the <head> section of your index.html file. And just like that, your documentation site will get a stylish makeover!
Deployment
Now that you have created stunning documentation with Docsify, it’s time to deploy it to the world. Luckily, Docsify supports various deployment options, including GitHub Pages, GitLab Pages, Firebase, Netlify, Vercel, AWS Amplify, and even Docker. For platforms like GitHub Pages, deployment is as simple as selecting the desired branch and saving the configuration.
I won’t leave you hanging! Here’s a quick recap of the deployment process for GitHub Pages:
- Go to Settings > Pages in your GitHub repository.
- Under Source, select the branch where your Docsify documentation is located.
- Click Save.
After a short while, your beauty of a documentation site will be live for the world to see!
Conclusion
And just like that, you’ve become a documentation superstar with Docsify! Whether you’re a JavaScript guru or a newcomer to the programming world, Docsify empowers you to create impressive documentation without breaking a sweat. With its ease of use, customization options, and deployment flexibility, Docsify is the tool you need to take your documentation game to new heights.
But before you unleash your newly gained knowledge, there are two small downsides to keep in mind:
- Docsify does not generate dynamic SEO meta tags for each page.
- The default Docsify theme might not offer a modern UI feel.
Despite these minor caveats, Docsify is still an invaluable tool for documentation creation. So go ahead, give it a try, and dazzle your users with stunning documentation!
Got any questions or want to share your experience with Docsify? Leave a comment below and let’s chat!


Leave a Reply